
Network scanner no longer working after Windows 10 update
If your network scanner has stopped working lately, read this article.
If you also own a corporate network scanner, and have recently been unable to receive scans from your PC, then you are in the right place. This has happened several times in my company: the day before it worked, the next day it didn’t work anymore.
First of all let’s explain what we mean by network scanner.
A network scanner is a device capable of scanning a paper document, transforming it into a file (PDF, jpeg or other), and subsequently saving it via the LAN network in a shared folder of a file server, of a PC or a NAS.
A clarification: in this article I talk about corporate network scanners – the classic multifunctional functions to understand each other – and not domestic ones, for the simple reason that the domestic ones are either not network scanners (but are connected via USB cable), or they are network but usually they have a management software that does everything, and therefore do not fall within the specific case described.
We will consider the case where the file is sent to the PC.
The SMB protocol is often the problem
To send the file to the PC, the scanner uses a client-server protocol called SMB (Server Message Block). There are several versions of this protocol. The problem is right here. Some scanners use the older version of the protocol: SMB/CIFS version 1.0.
Microsoft makes this protocol disabled by default. So often after an update of the Windows Operating System, or after having just installed Windows, we find ourselves with the SMB / CIFS version 1.0 protocol disabled. And this is why communication between scanner and PC cannot take place..
So what to do if the scanner doesn’t work?
Solution:
Let’s try to see in general all the steps to take to verify the correct configuration of the scanner and the sharing of the shared folder in which we want to save the file.
STEP 1: Create the shared folder
In your PC create a folder wherever you want, I recommend on the desktop or in Documents and call it what you want, for example I acelled it “SCANSIONI”

STEP 2: authorizes the folder to be written
Right button on the folder –> Properties and go to the “Sharing” tab
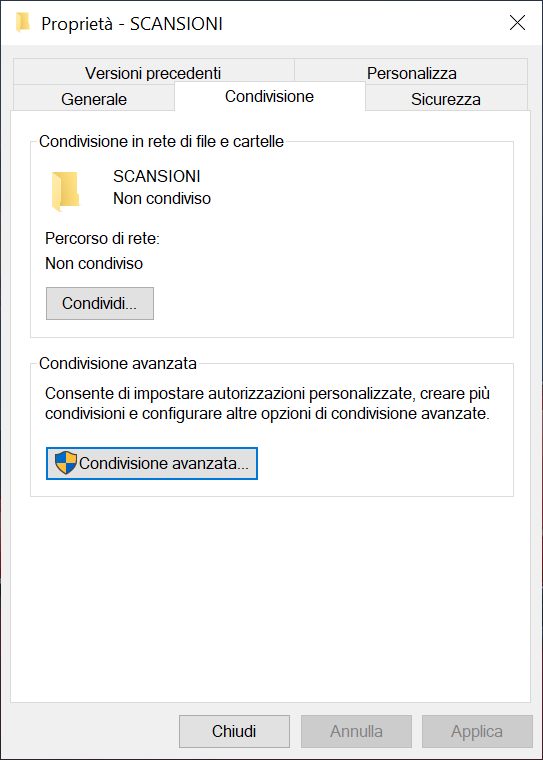
Press the “Advanced sharing …” button and check (activate) the “Share folder” item. Choose the name of the share well, I recommend a simple name without spaces, I left the name “SCANSIONI”

Now click on “Permissions” and verify that there is the “Everyone” group to which you must give the right to Edit + Read
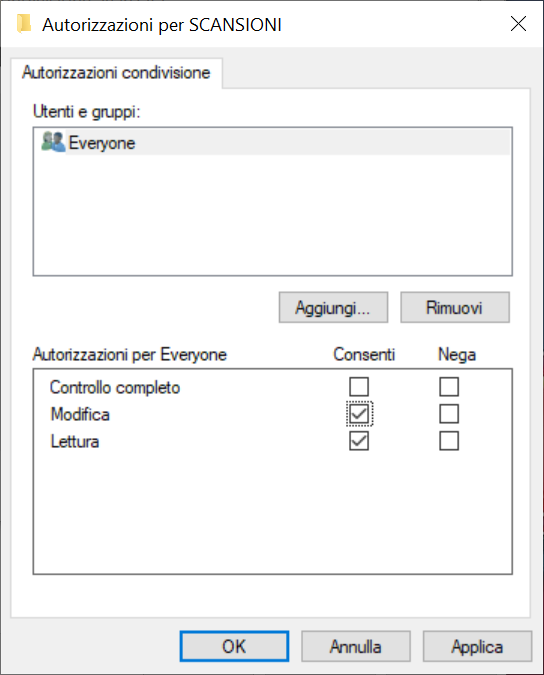
confirm by clicking on OK.
You will return to the “Advanced Sharing” tab below, close it again by clicking on OK and then you will return to the Properties -> Sharing tab that you had previously opened.
From here you now need to move to the Security tab:
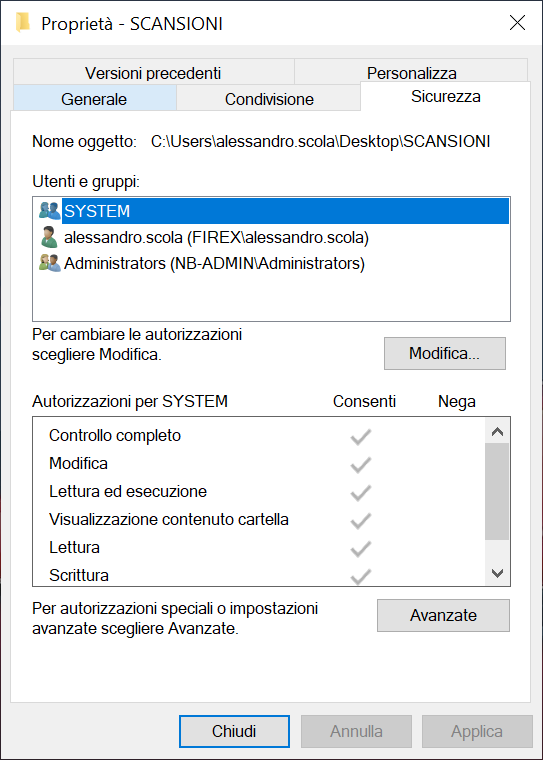
Now you need to authorize a user to write to the folder. I created a domain user called “scans” with a complex password that is known only to the network administrator and that never expires. I will use this user to authenticate scanners across the enterprise, on all PCs.
This approach makes the configuration of scanners and “SCANSIONI” folders of all PCs standard.
Then click on Edit on the Security tab to add the user.
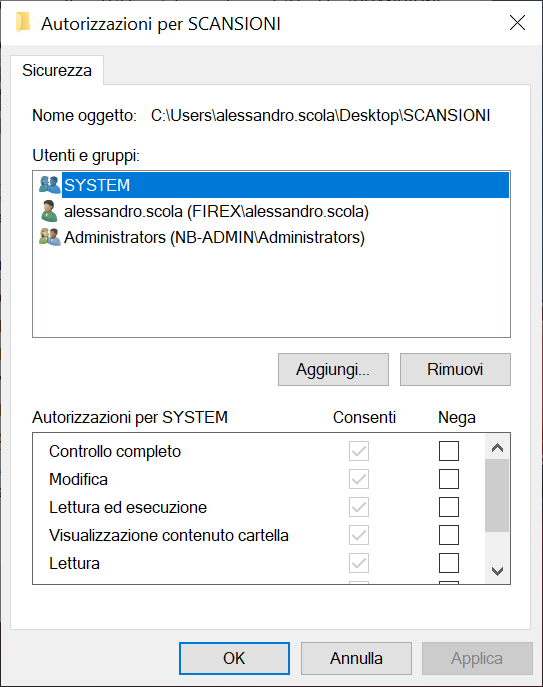
Click on “Add” button … and add the domain user “scans”. Confirm with “OK” on all tabs and then “CLOSE” on the last one.
STEP 3: Configure the network scanner
This step is for configuring the scanner, and in particular we should set up:
- in which network device we want to save the file. we can specify the IP address (provided it is static) or its network name
- in which folder within that device we want to save the file
- with which user and password it will authenticate
In my example the configuration is that of a Multifunction Develop Ineo +308
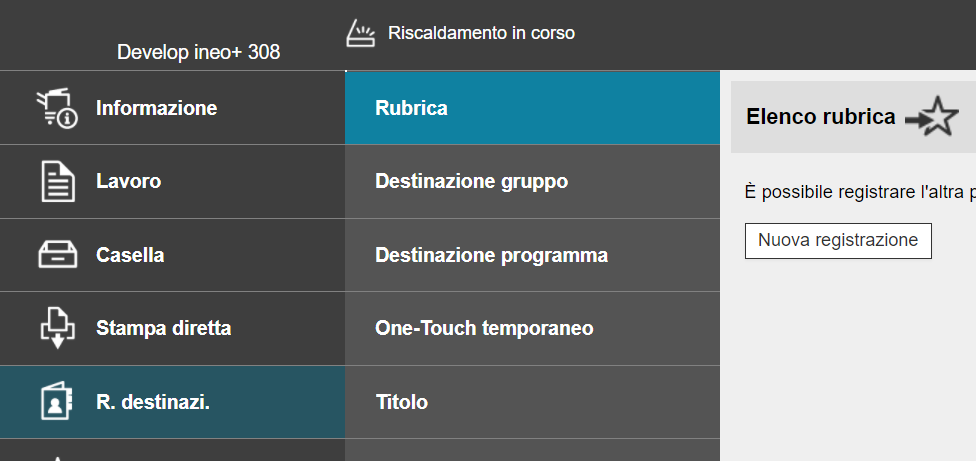
After opening the multifunction configuration web page, navigate the menu: R destination -> Phonebook and then New Registration
In the new registration form, enter all the information seen above, namely:
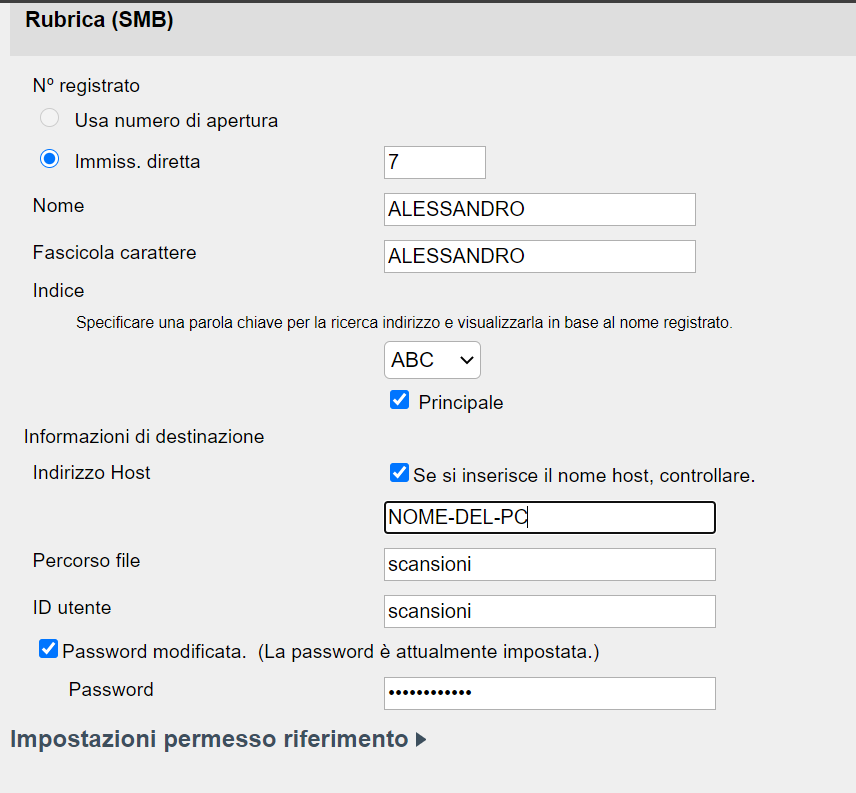
Name: it is just a name to identify the destination. I put my name
Host Address: here you must enter the NAME OF YOUR PC within the LAN network, in which you created the “scans” folder. If you prefer you can also enter the IP address, but only if this address is set as static and never changes.
File path: is the name of the FOLDER in my PC. in my case it’s “scansioni”, the one created at STEP 1
User ID: is the name of the retr user that I have authorized STEP 2 to download in that folder. ATTENTION: it is a coincidence that the user “scansioni” has the same name as the file path “scansioni”, they can also be different from each other.
Password: this is the password of the “scans” user.
STEP 4: activate the SMB / CIFS 1.0 protocol
This last step is what makes the real difference to the problem described.
If you’ve done all of the above steps correctly and still can’t use the scanner, then this step is critical.
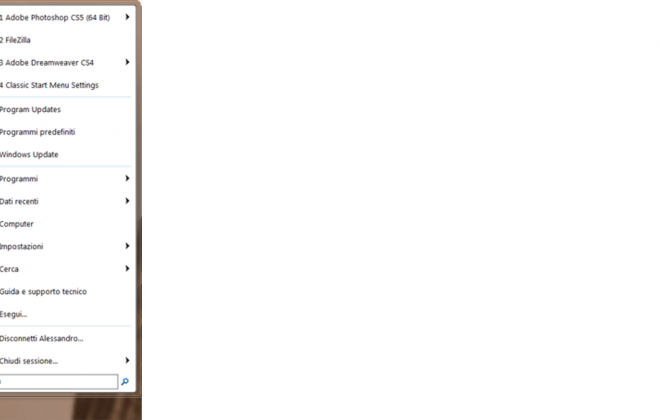
go to Control Panel -> Programs and Features
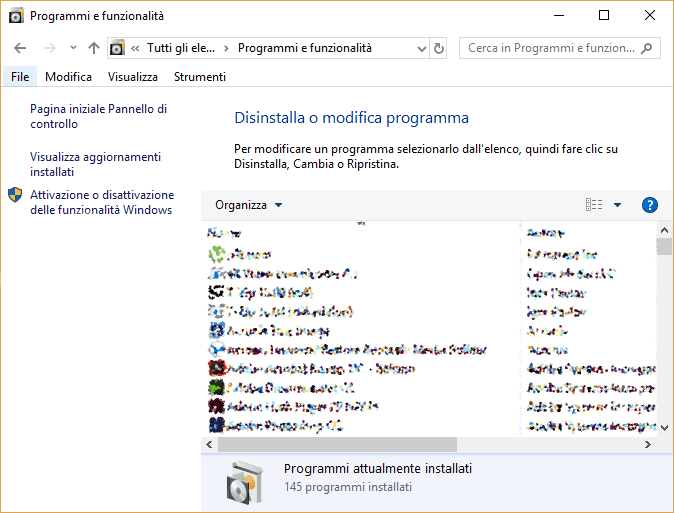
Click on the left on the item: Activation and deactivation of Windows features
Look for the “SMB 1.0 / CIFS File Sharing Support” feature list and enable the following 2 items:
- Client SMB 1.0/CIFS
- Server SMB 1.0/CIFS

Conferma con OK
If you found this article helpful, leave a comment and share it!
Thank you.
Help me support this blog
If you want you can help me concretely to support this blog. You can do it with a free donation, by credit card or paypal. I will be grateful to you.
[TheChamp-FB-Comments]

